 |
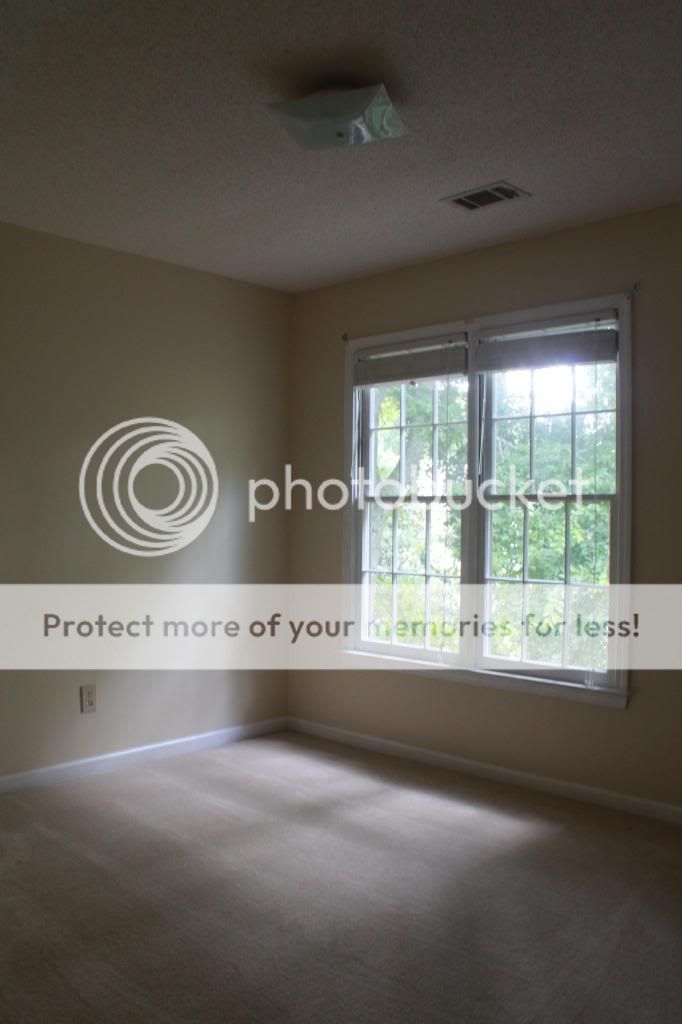
| Nursery Before |
 |
| Elevation Drawings |
I also picked up: Liquid Nails, caulk, and 1-3/4" long primed finishing nails. Initally I hoped to use our nail gun, but the longest nail it accomodates is 1-1/4." In our situation we have the 3/4" thick lumber plus 5/8" thick gypsum board which totals 1.375." A nail that is 1.25" wouldn't even make it into the studs, and that would be useless. Note: I was stoked about the primed finishing nails. I didn't use those when we added trim to thicken up our crown moulding downstairs, so I thought they would be the coolest nails ever for this. Um, no. After a few taps with a hammer the primed finish came right off 75% of the nails. {sad face}
Back when I primed and painting the ceiling, I went ahead and primed the walls and used a coat of the cheaper flat finish ceiling paint as my first coat of white paint where I was installing the batten. As you increase the sheen level in your paint the price increases as well. Not that a coat of paint is all that costly, but with the set up and clean up process of painting (the paint trays, the rollers, the brushes) it just made it easy to go ahead this way.
 |
| Painting Progress |
When making my cuts for the base and chair rail I decided not to overcomplicate things. With the exception of my one outside corner I butted all my joints together. Why miter if I don't have to? If you did not see last week's post about removing base board then check that out here: The Nursery Walls Part I.
 |
| Outside corner with mitered edge; inside corner straight - overlapping the perpendicular board |
 |
| And I chose neither of those paint colors! Left: SW6218 Tradewind, Right: SW0019 Festoon Aqua |
Once you have completed attaching all your boards you can caulk away. Follow the instructions on your caulk to determine how long you need to wait before painting (usually 2 hours). Since the boards and walls were already primed and the walls already had a coat of paint, I only had one full coat of semi-gloss white paint to do plus a little touch up here and there.
 |
| See...this paint color is kinda in between the other two swatches...SW6477 Tidewater |
See that annoying outlet placement? Oh well. Speaking of electrical...next week we can talk about updating our old almond colored duplexes and light switches to white ones. And just like our walls were so much more than paint...our electrical updates ARE MORE THAN JUST A COLOR CHANGE! I know you are on the edge of your seat in anticipation...


We have almost that exact same board and batten treatment in our nursery! Love the wall colour and the roman shades.
ReplyDelete