Showing posts with label Nursery. Show all posts

Wednesday, February 12, 2014

Creating a Comfortable Nursery

A nursery is the place new parents will spend much of their time with their newborn.  It is a room that the child will grow into, and will need to be ready for the ever changing needs of a rapidly growing little munchkin.  There were several musts on my list when creating our nursery, and now that we have been home with our little one for over two months I have a little more insight as to what makes for a cozy comfortable space.

Nursery Rockers, Gliders and Everything in Between
Gone are the days of the plain wooden rocking chair as the only option to feed and rock the little one off to dreamland.  Initially I found myself swooning over a handful of modern rockers.  While the form of these options would have been a perfect match for the look I wanted, I luckily decided that the function would leave a lot to be desired for myself and my husband. 
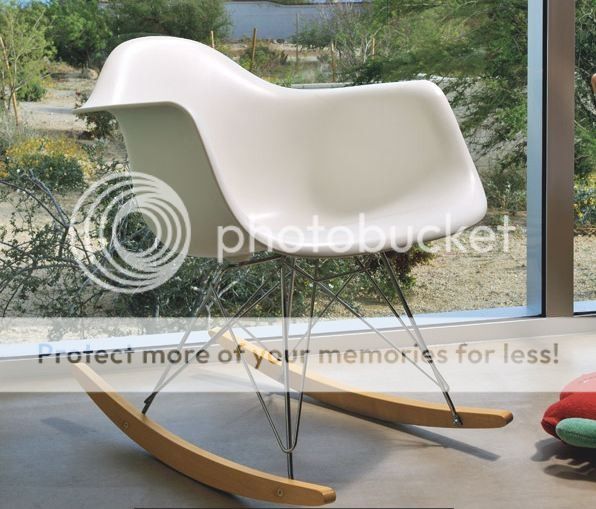
Eames Rocker from All Modern

Many people can sacrifice a little comfort for aesthetic...that is how four inch pumps exist!  However, for others function comes before form.  Therefore my search continued as I knew I wanted a fully upholstered chair with a high enough back that could support my head.  Things to consider when searching for your perfect nursery chair should include comfort, cleanability, affordability and long-term post-nursery plans.  While we live in a "disposable" world, I knew I wanted to find a chair that could be used in another room once the little one transitions into a big boy room.  Some gliders even come as slipcovered options {like the one from Crate & Barrel below} making cleanability and future reupholstering a breeze.
West Elm | Anthropologie | Crate & Barrel
Then there is deciding between a rocker or a glider, and deciphering the features such as swivel and recline.  If you forgo the reclining option be sure to include an ottoman with your chair, and consider a non-matching ottoman to add a little punch of color or pattern.  We chose one that doubles as storage for blankets and toys.  For convenience we have a rolling cart as a side table for extra swaddling blankets, burp cloths and sheets as well as his sound machine.  An industrial style bin holds an abundance of books for our bedtime reading.
Graham Glider from West Elm
Deck the Walls
Wall color, finish and decor play a vital role in creating the atmosphere of any nursery.  Tranquil colors can help create a soothing space for feedings and sleeping; remember that calm colors do not have to be muted.  Bright blues and greens are wonderful options for a playful space that still reads peaceful and serene.  Even if you are having a little girl, you no longer are expected to use pink, purple or yellow.  Feel free to pull in traditional boy colors like pastel blue, navy blue or turquoise.
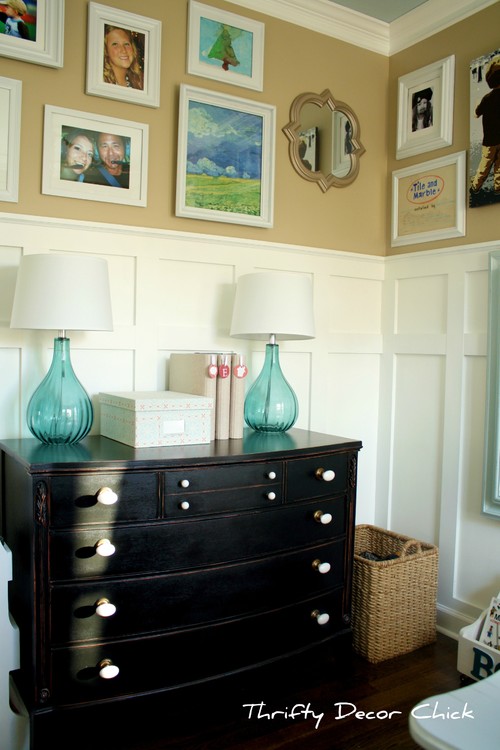
There is more than just color to think about for your walls.  Features such as beadboard or board and batten can do more than upgrade the look of a room.  By using a semi-gloss paint on these features that are often on the lower part of the wall, an easily washable surface is created.  Once that little bundle of joy is on the move that added benefit will be much appreciated. 
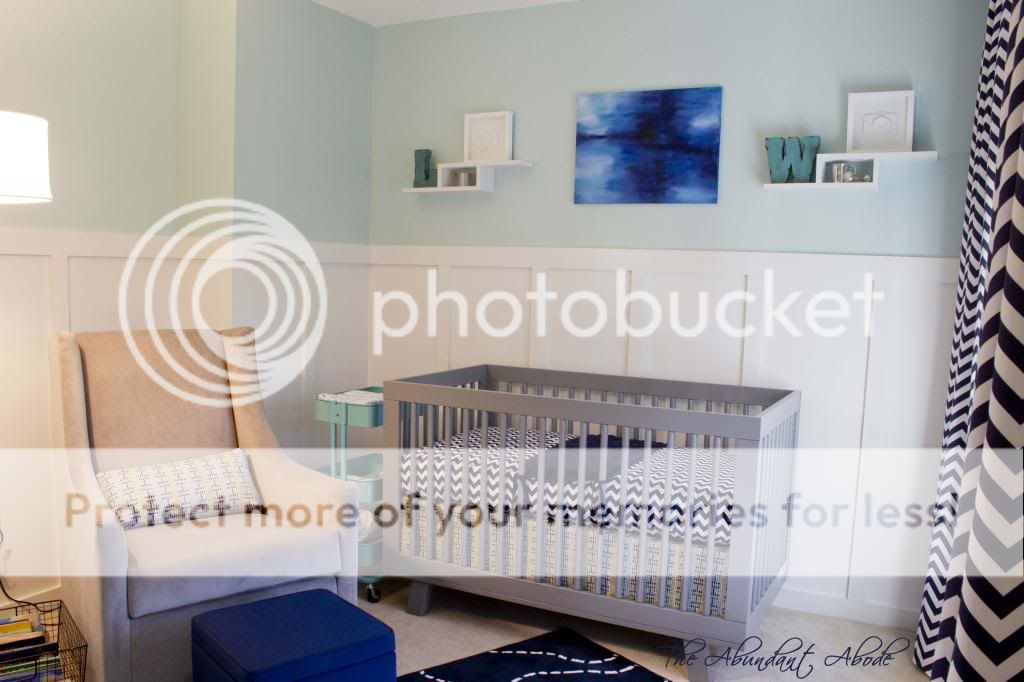
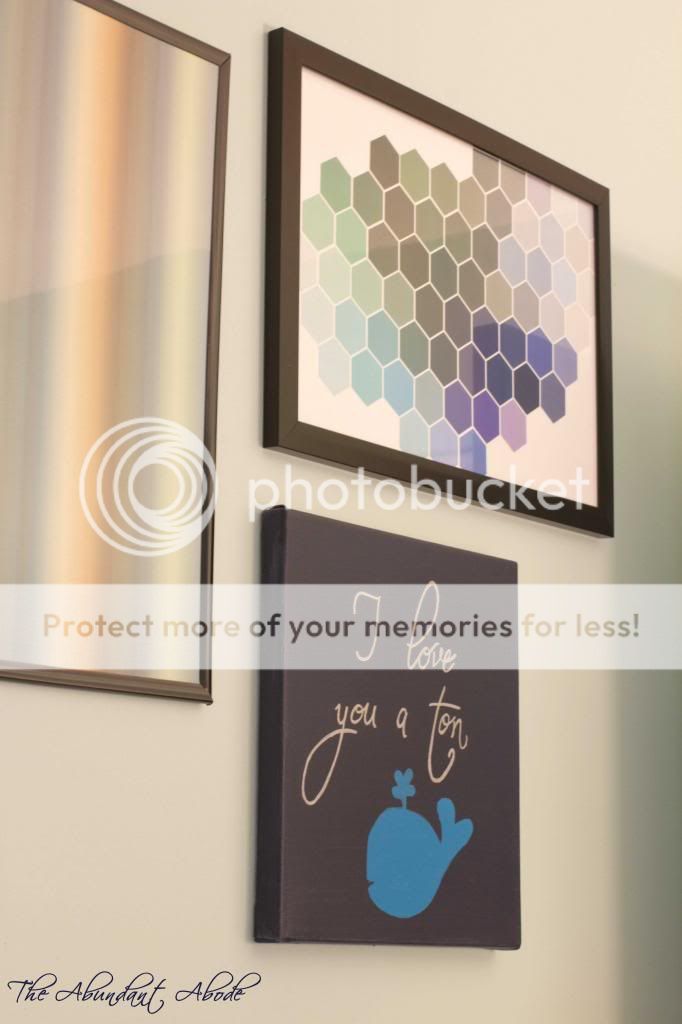
Many nursery guides state that because a baby's eyes take a while to achieve 20/20 status it is not important to add art or decor early on.  Perhaps there is merit in that; however, our two month old has been fascinated by his artwork for weeks.  Even if they do not see it as mom and dad do, art can provide great accent decor opportunities and provides contrasting elements for baby to gaze towards. Most of our nursery art is DIY to keep our overall budget for the space reasonable.

If DIY art is not for you there are wonderful options including 3-D decor available for all design motifs!  Look at these adorable selections from RH Baby & Child.
Patterns, Textures and Accents
While some may becoming weary of the chevron craze, do not dismiss this pattern as an option for your nursery.  In just a few short weeks of birth that little baby will find zig-zag patterns fascinating.  High contrast patterns in general will amuse the little ones non-yet developed sight, so even if chevron is not your thing look for bold patterns on subtle backgrounds or vice-versa.  Just as in any space, use a couple different patterns to keep it interesting.  We have stripes {the roman shades}, chevron {drapery and crib sheet}, and dots {pillow and crib skirt}.  Though it sounds like a lot for one room, by selecting fabrics that all contain navy and using each fabric in specific quantites, those three patterns read well together.

Mix up your textures as well; microfiber and velvet-like upholsteries are great for gliders, and washable cottons or poly-blends for pillow covers and crib skirts will prove durable compared to many dry-clean only options out there.  Of course the occasional ruffle, sequin or furry accent pillow for the glider can add that little extra pop - an accent pillow is the perfect place to ignore practicality! Look at these fun pillows from Land of Nod.  I may have to go grab that little brotosarous!  If we had a little girl I would have definitely gone for that pink ruffle pillow.
When determining your window treatment look for black-out lined options that will help keep the room as dark as possible when it's time for baby to be asleep.  Layering roller shades or cordless roman shades with drapery panels is a way to incorporate additional patterns and also provides multiple light filtering options.  Grasscloth, woven wood, or bamboo are also great shade options that can add an earthy texture to your space.  To save some money, while we purchased the cordless roman shades from Pottery Barn Kids, and I sewed the drapery panels myself.
DIY Blackout Lined Drapery Panels
Have you recently welcomed a little bundle of joy into your family?  What have you noticed about your space that has been a success, and are there any aspects that need a do-over?  For more information on products in our nursery visit my post, Revealing the Nursery.  For more tips on creating a comfortable nursery visit One Kings Lane, and don't forget to check them out for unique accents for your nursery!


Friday, November 8, 2013

Revealing the Nursery

It is finally done!  Our little one will be here December 10th, and his room is all ready for him.  His mother and father on the other hand...not so sure.
 
Compared to the empty dingy room that was there when we moved into the house the nursery is now bright, colorful, and simply modern.  {And compared to when we moved in my belly is 15" larger...hello baby.}
 
 
As you know I'm not one for over accessorizing...sure it looks great in a magazine photo, but not practical for my life. I have better things to do than spend hours dusting a bunch of little items!  The wall shelves provide just enough stylizing for me.  I also liked being able to reuse those which have been sitting in a closet since we moved.  (From Target back in 2006 - used in my college exit show!)
 
 
The little silver items on the shelves are from my mother-in-law.  On the L shelf is a little silver cup she had engraved when my husband was born with his name and birthday.  On the W shelf is a matching pewter cup she had engraved with L-Dubs first name as well as a pewter rattle. 
 
 
The glider and the crib are my favorite purchases.  I decided not to compromise on what I wanted for those two items.  The glider is West Elm and the crib is Babyletto, but I purchased locally at New Baby Products since they had it in stock, and it's always good to support local business!  I love my little aqua rolling cart by the crib and glider.  Perfect for stashing extra swaddle blankets and burp cloths as well as the sound machine and monitor.  
 
 
The art wall is the bane of my existance...okay not really.  I just cannot ever be happy with these type of projects because I know what I really wanted, but could not justify spending over $400 for it all.  So...other than the vintage camera sculpture art it is all DIY...the center one is actually a wallcovering strike-off from work...The art above the crib was also DIY.  Another truly devastating compromise was the dresser.  Well maybe not devastating, but certainly annoying.  It is super hard to find dressers between 50-58" wide!  All the ones I loved were over 60" and that wouldn't fit between the bedroom door and the closet door...I thought my life was over.  Perhaps that was the hormones...  


For some of the other items:


Crib Skirt & Glider Pillow DIY - Info to Come
 
 
Now all the nursery needs is the baby!!  


Friday, September 27, 2013

The Nursery Walls Part II: Board and Batten...kinda

Are you excited to see the finished walls?!  And because I forgot to take a non-camera phone photo previously you will also see a sneak peak of our non-DIY window treatments.  You lucky duck.


I absolutely love the fresh, clean and bright feel of this room now.  Do you remember the before?


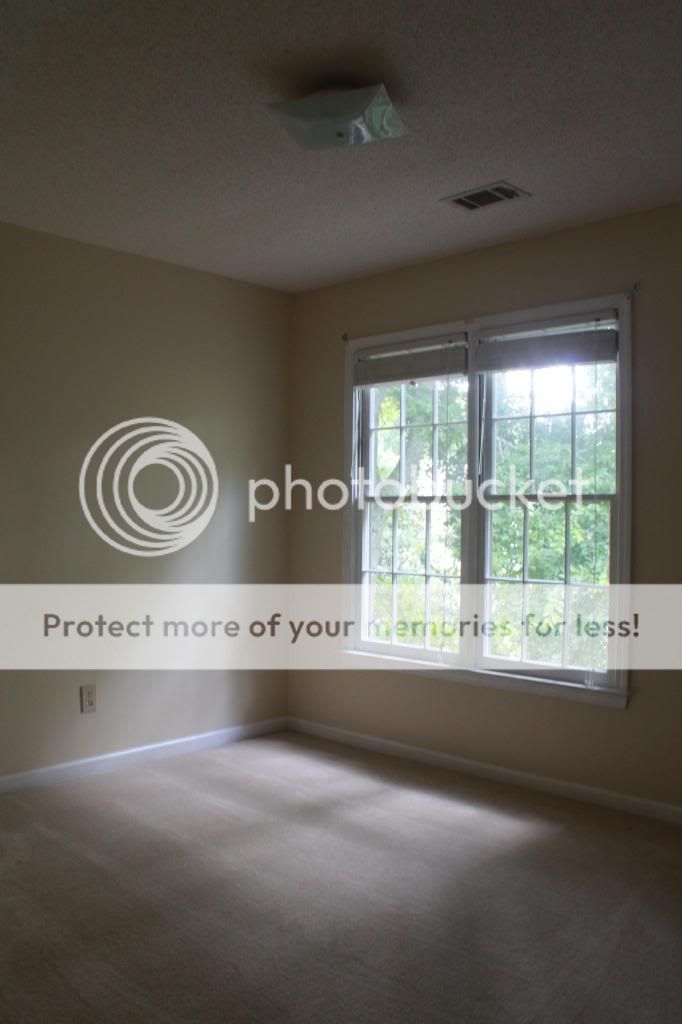
Nursery Before
To start on this you will want to determine how you want your placement and take precise measurements.  Given my day job contains lots of computer aided drawing and detailing I have our whole house (and yard-to-be) drawn up in AutoCAD...that's normal, right?  Therefore I triple checked the nursery dimensions, updated the drawing, and elevated all my walls to aide in my OCD planaholic personality.  A simple sketch would suffice, too...but why would I just do that?  I later decided to delete the crown moulding - with only 8'-0" ceilings it really limited my options for art sizes, shapes and placement.  Trust me - I did about 10 other elevations playing with art and shelving just to be sure.

Elevation Drawings
We made our trip to Lowe's as my research indicated they had the primed MDF boards at the sizes that best suited our space.  We needed eight 1x3x8's for the vertical (which we would cut exactly in half) and six 1x4x12's for the base and chair rail.  For anyone new to lumber dimensions the width and thickness are NOMINAL sizes.  A 1" thick board is generally 3/4" thick (depending on if it is wood, composite, or MDF).  A 3" wide board is actually 2-1/2" wide and a 4" wide board is actually 3-1/2" wide.  Check out more on that at trusty old Wikipedia: Lumber.

I also picked up: Liquid Nails, caulk, and 1-3/4" long primed finishing nails.  Initally I hoped to use our nail gun, but the longest nail it accomodates is 1-1/4."  In our situation we have the 3/4" thick lumber plus 5/8" thick gypsum board which totals 1.375."  A nail that is 1.25" wouldn't even make it into the studs, and that would be useless.  Note: I was stoked about the primed finishing nails.  I didn't use those when we added trim to thicken up our crown moulding downstairs, so I thought they would be the coolest nails ever for this.  Um, no.  After a few taps with a hammer the primed finish came right off 75% of the nails.  {sad face}

Back when I primed and painting the ceiling, I went ahead and primed the walls and used a coat of the cheaper flat finish ceiling paint as my first coat of white paint where I was installing the batten.  As you increase the sheen level in your paint the price increases as well.  Not that a coat of paint is all that costly, but with the set up and clean up process of painting (the paint trays, the rollers, the brushes) it just made it easy to go ahead this way.
Painting Progress

When making my cuts for the base and chair rail I decided not to overcomplicate things.  With the exception of my one outside corner I butted all my joints together.  Why miter if I don't have to?  If you did not see last week's post about removing base board then check that out here: The Nursery Walls Part I.

Outside corner with mitered edge; inside corner straight - overlapping the perpendicular board
First was the base, second the vertical battens, and last the chair rail.  This is a camera phone photo, so it's a little blurry.  Don't fret - the glider was covered in a canvas crop cloth and plastic drop cloth when all the painting occurred!

And I chose neither of those paint colors! Left: SW6218 Tradewind, Right: SW0019 Festoon Aqua
Now ideally you want to hit studs with your nails...and ideally the duplex outlet isn't DIRECTLY  where you want your center batten...ON ALL FOUR WALLS.  Seriously...shut up.  I just pushed the board I wanted to be centered over and slightly respaced the other boards.  I considered just cutting the board at the outlet, but hey...six one way, half a dozen the other.  Whatever floats your boat.  We hit studs with the base and the chair rail, and then about 30% of our vertical boards.  The rest we are trusting in Liquid Nails and the nails that are just through the drywall. 

Once you have completed attaching all your boards you can caulk away.  Follow the instructions on your caulk to determine how long you need to wait before painting (usually 2 hours).  Since the boards and walls were already primed and the walls already had a coat of paint, I only had one full coat of semi-gloss white paint to do plus a little touch up here and there. 

See...this paint color is kinda in between the other two swatches...SW6477 Tidewater

See that annoying outlet placement?  Oh well.  Speaking of electrical...next week we can talk about updating our old almond colored duplexes and light switches to white ones.  And just like our walls were so much more than paint...our electrical updates ARE MORE THAN JUST A COLOR CHANGE!  I know you are on the edge of your seat in anticipation...


Friday, September 20, 2013

The Nursery Walls Part I: Removing Base Moulding

Last week I revealed the ceilings of the nursery and hinted at the SO MUCH MORE THAN PAINT work we did on the walls.  I've been seeing stripe wall tutorials out the wazoo lately, so I'm sure that probably crossed your mind.  BUT NO!  That is the feature in the "green guestroom" next to the nursery, so no need to repeat it.  I was inspired by several possible treatments with just a little more flare.


Pinned from a Broken Link via White|Gold Design

Pinned from a Broken Link  via Cocokelley.blogspot.com
Ultimately I choose to stay timeless, and go with board and batten.  Nothing but the best for L-Dubs (the tots nickname). Well, semi-board and batten.  True board and batten uses wide "boards" pieced together along the wall with the "battens" being the thin pieces covering the joints of the boards.  The majority of tutorials out in blog land (along with this one) uses only the batten part of the equation.  The added expense of the boards is not necessary in my situation; however it could be a good solution if you are dealing with damaged walls.
 
Our home was built in 1991, so our first step was to remove the existing builder grade base moulding which has the curved top edge.  A straight top edge is needed for the vertical elements to extend from.  The new base moulding would be just a tiny bit taller than our existing which makes the removal a little easier.  You will need a utility knife, painter's multi-tool like a 5-in-one tool, screw driver, pliers and hammer.  You may also want a pry bar and a small spare piece of wood (about 6-12" long x 4-6" high).  We were able to remove the base without those last two items, but it will depend on how yours was installed.
First, use an blade and cut along the top edge of the existing base and then go back with either a caulk remover tool or a 5-in-one painters tool to remove all the existing caulk.  This is an incredibly important step as you do not want to pull the base off with the gypsum board paper still attached - it could rip all the way up your wall, and that is no fun to repair!  As I removed the caulk with the 5-in-one tool, I pushed the tool between the base and the wall to continue the separation by loosening the nails from the wall.  At times I wedged the screwdriver between the wall and the base board a foot or so ahead of me to help as I pulled the base off.

Loosened Base Moulding
Now that you will not be ripping the paper face off your gypsum board you can really start pulling out that base.  I used the pliers to reach behind the base and loosen the nails from the wall.  I initially tried the pry bar and spare wood method of removing, but the nails were ripping up the drywall.  Sure, it would be covered with the new base moulding, but it was making me cringe to watch it happen.  Most of the base could be pulled about a 1/2" from the wall making it pretty easy to reach in with pliers and continue to loosen the nail.  Once your nails are loosened the base mostly pops right off.  Your corners - where the base is connecting to another run of base - will be the more difficult part.  We had one pesky corner where I grabbed my Dremel saw attachment and cut through the attached corner because it just would not separate.  No pictures of that - no need to see a pregnant lady's hormonally induced moment of rage!  I actually forgot to take photos during most of this demo process, but I did remember a few when installing the batten.

Oh right, most of this was done with my belly looking like this -

A week after this photo we found out his body is in the 61% and head is in the 98%...
Let's hope he evens out towards the 61%.
All the squatting and bending would have been much easier if we tackled this project around the 20 week mark instead of 23ish.  Holy growth spurt.  Oh well, mentally I simply wasn't ready to work on the nursery at that point, but that's a whole other story.
Next week I'll walk through the installation of the battens!  It is a mostly easy process with the exception of one wall of ours that is a little wonky.  Wonky = curves slightly outwards which makes keeping those boards flush a SUPER FUN PROCESS.  Again, may have had a few hormonally induced moments of rage...