Wednesday, February 12, 2014

Creating a Comfortable Nursery

A nursery is the place new parents will spend much of their time with their newborn.  It is a room that the child will grow into, and will need to be ready for the ever changing needs of a rapidly growing little munchkin.  There were several musts on my list when creating our nursery, and now that we have been home with our little one for over two months I have a little more insight as to what makes for a cozy comfortable space.

Nursery Rockers, Gliders and Everything in Between
Gone are the days of the plain wooden rocking chair as the only option to feed and rock the little one off to dreamland.  Initially I found myself swooning over a handful of modern rockers.  While the form of these options would have been a perfect match for the look I wanted, I luckily decided that the function would leave a lot to be desired for myself and my husband. 
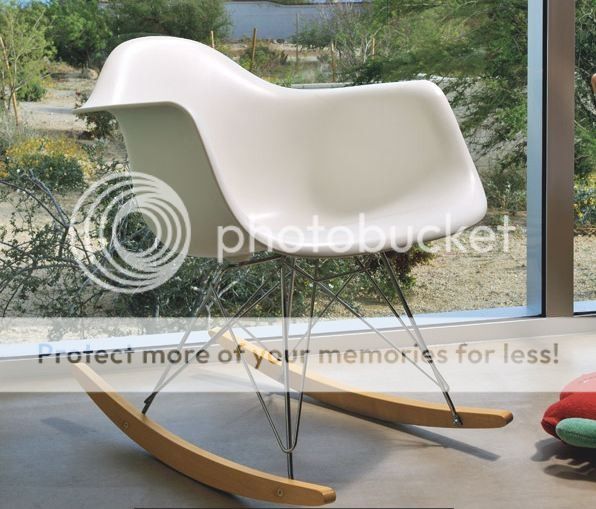
Eames Rocker from All Modern

Many people can sacrifice a little comfort for aesthetic...that is how four inch pumps exist!  However, for others function comes before form.  Therefore my search continued as I knew I wanted a fully upholstered chair with a high enough back that could support my head.  Things to consider when searching for your perfect nursery chair should include comfort, cleanability, affordability and long-term post-nursery plans.  While we live in a "disposable" world, I knew I wanted to find a chair that could be used in another room once the little one transitions into a big boy room.  Some gliders even come as slipcovered options {like the one from Crate & Barrel below} making cleanability and future reupholstering a breeze.
West Elm | Anthropologie | Crate & Barrel
Then there is deciding between a rocker or a glider, and deciphering the features such as swivel and recline.  If you forgo the reclining option be sure to include an ottoman with your chair, and consider a non-matching ottoman to add a little punch of color or pattern.  We chose one that doubles as storage for blankets and toys.  For convenience we have a rolling cart as a side table for extra swaddling blankets, burp cloths and sheets as well as his sound machine.  An industrial style bin holds an abundance of books for our bedtime reading.
Graham Glider from West Elm
Deck the Walls
Wall color, finish and decor play a vital role in creating the atmosphere of any nursery.  Tranquil colors can help create a soothing space for feedings and sleeping; remember that calm colors do not have to be muted.  Bright blues and greens are wonderful options for a playful space that still reads peaceful and serene.  Even if you are having a little girl, you no longer are expected to use pink, purple or yellow.  Feel free to pull in traditional boy colors like pastel blue, navy blue or turquoise.
There is more than just color to think about for your walls.  Features such as beadboard or board and batten can do more than upgrade the look of a room.  By using a semi-gloss paint on these features that are often on the lower part of the wall, an easily washable surface is created.  Once that little bundle of joy is on the move that added benefit will be much appreciated. 
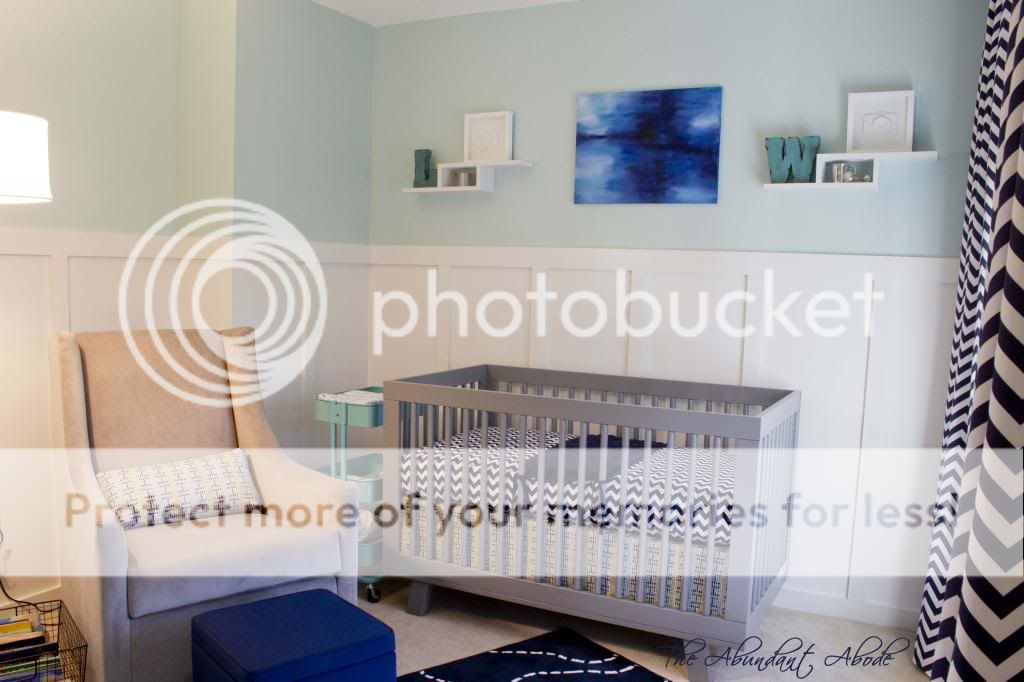
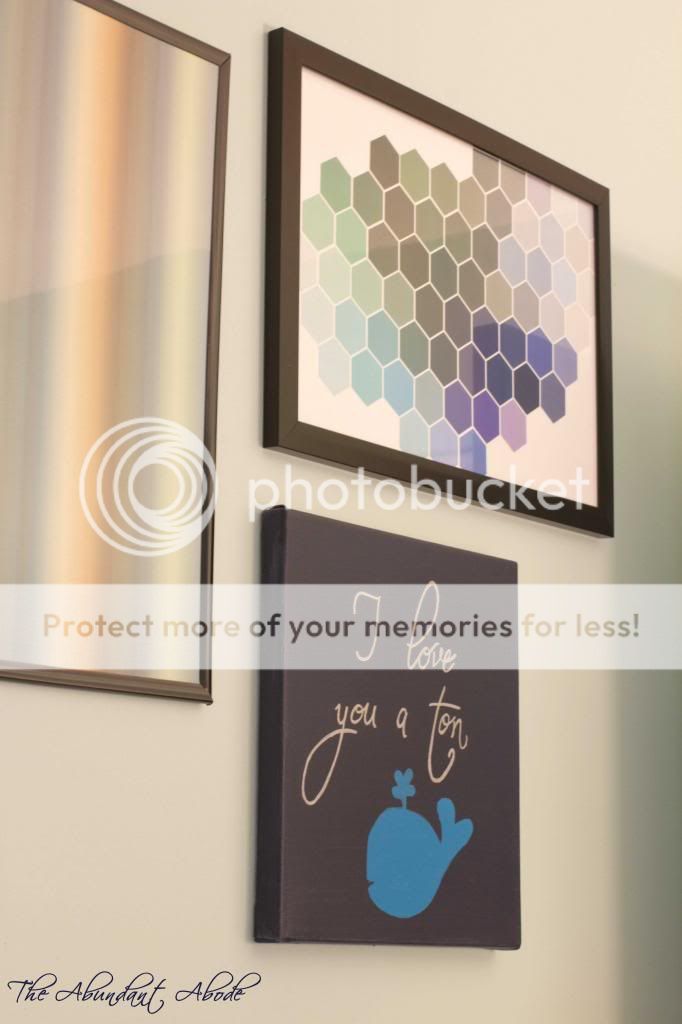
Many nursery guides state that because a baby's eyes take a while to achieve 20/20 status it is not important to add art or decor early on.  Perhaps there is merit in that; however, our two month old has been fascinated by his artwork for weeks.  Even if they do not see it as mom and dad do, art can provide great accent decor opportunities and provides contrasting elements for baby to gaze towards. Most of our nursery art is DIY to keep our overall budget for the space reasonable.

If DIY art is not for you there are wonderful options including 3-D decor available for all design motifs!  Look at these adorable selections from RH Baby & Child.
Patterns, Textures and Accents
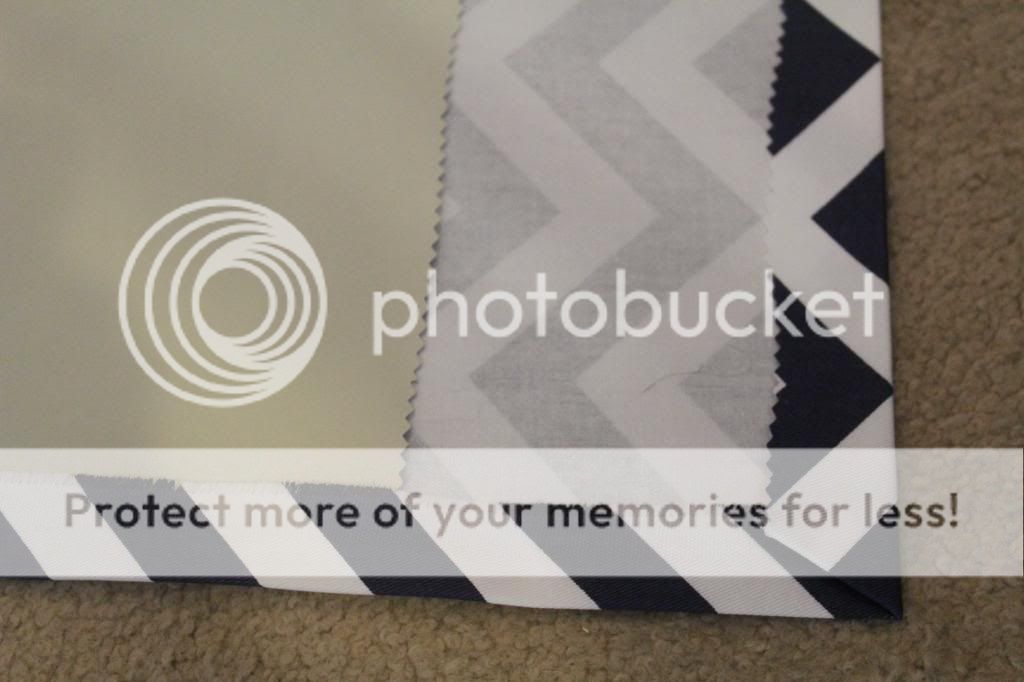
While some may becoming weary of the chevron craze, do not dismiss this pattern as an option for your nursery.  In just a few short weeks of birth that little baby will find zig-zag patterns fascinating.  High contrast patterns in general will amuse the little ones non-yet developed sight, so even if chevron is not your thing look for bold patterns on subtle backgrounds or vice-versa.  Just as in any space, use a couple different patterns to keep it interesting.  We have stripes {the roman shades}, chevron {drapery and crib sheet}, and dots {pillow and crib skirt}.  Though it sounds like a lot for one room, by selecting fabrics that all contain navy and using each fabric in specific quantites, those three patterns read well together.

Mix up your textures as well; microfiber and velvet-like upholsteries are great for gliders, and washable cottons or poly-blends for pillow covers and crib skirts will prove durable compared to many dry-clean only options out there.  Of course the occasional ruffle, sequin or furry accent pillow for the glider can add that little extra pop - an accent pillow is the perfect place to ignore practicality! Look at these fun pillows from Land of Nod.  I may have to go grab that little brotosarous!  If we had a little girl I would have definitely gone for that pink ruffle pillow.
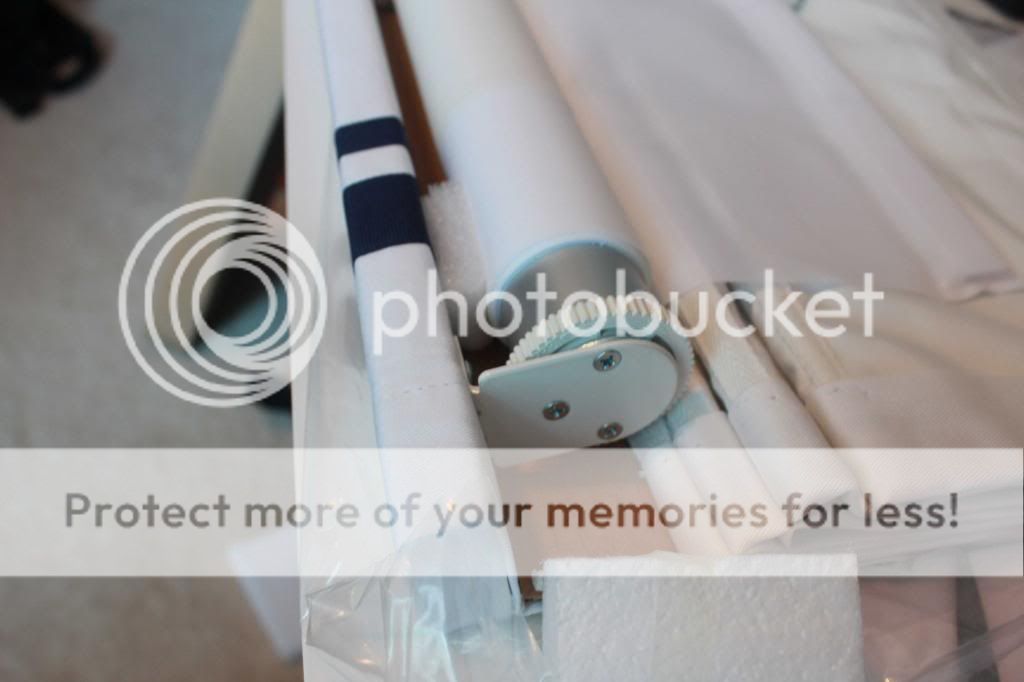
When determining your window treatment look for black-out lined options that will help keep the room as dark as possible when it's time for baby to be asleep.  Layering roller shades or cordless roman shades with drapery panels is a way to incorporate additional patterns and also provides multiple light filtering options.  Grasscloth, woven wood, or bamboo are also great shade options that can add an earthy texture to your space.  To save some money, while we purchased the cordless roman shades from Pottery Barn Kids, and I sewed the drapery panels myself.
DIY Blackout Lined Drapery Panels
Have you recently welcomed a little bundle of joy into your family?  What have you noticed about your space that has been a success, and are there any aspects that need a do-over?  For more information on products in our nursery visit my post, Revealing the Nursery.  For more tips on creating a comfortable nursery visit One Kings Lane, and don't forget to check them out for unique accents for your nursery!


Wednesday, January 8, 2014

And I was doing so well with posting...

The third trimester was quite busy, so I went on hiatus.  From wrapping up little things around the house, to projects at work, to by bi-weekly OB appointments I had little free time.  Yes - bi-weekly appointments with ultrasounds at each one.  The upside to being high risk for some scary complications is that I was able to see my little munchkin a whole lot!  Even better upside is that most of the complications the doctors were concerned about we didn't ever encounter, and our little bundle arrived December 4th!

 
And this is the two of us on his actual due date December 15th...


Friday, November 8, 2013

Revealing the Nursery

It is finally done!  Our little one will be here December 10th, and his room is all ready for him.  His mother and father on the other hand...not so sure.
 
Compared to the empty dingy room that was there when we moved into the house the nursery is now bright, colorful, and simply modern.  {And compared to when we moved in my belly is 15" larger...hello baby.}
 
 
As you know I'm not one for over accessorizing...sure it looks great in a magazine photo, but not practical for my life. I have better things to do than spend hours dusting a bunch of little items!  The wall shelves provide just enough stylizing for me.  I also liked being able to reuse those which have been sitting in a closet since we moved.  (From Target back in 2006 - used in my college exit show!)
 
 
The little silver items on the shelves are from my mother-in-law.  On the L shelf is a little silver cup she had engraved when my husband was born with his name and birthday.  On the W shelf is a matching pewter cup she had engraved with L-Dubs first name as well as a pewter rattle. 
 
 
The glider and the crib are my favorite purchases.  I decided not to compromise on what I wanted for those two items.  The glider is West Elm and the crib is Babyletto, but I purchased locally at New Baby Products since they had it in stock, and it's always good to support local business!  I love my little aqua rolling cart by the crib and glider.  Perfect for stashing extra swaddle blankets and burp cloths as well as the sound machine and monitor.  
 
 
The art wall is the bane of my existance...okay not really.  I just cannot ever be happy with these type of projects because I know what I really wanted, but could not justify spending over $400 for it all.  So...other than the vintage camera sculpture art it is all DIY...the center one is actually a wallcovering strike-off from work...The art above the crib was also DIY.  Another truly devastating compromise was the dresser.  Well maybe not devastating, but certainly annoying.  It is super hard to find dressers between 50-58" wide!  All the ones I loved were over 60" and that wouldn't fit between the bedroom door and the closet door...I thought my life was over.  Perhaps that was the hormones...  


For some of the other items:


Crib Skirt & Glider Pillow DIY - Info to Come
 
 
Now all the nursery needs is the baby!!  


Friday, October 18, 2013

DIY Blackout Lined Drapery Panels

Hooray for Friday!  As I'm approaching 33 weeks preggo on Sunday the overwhelming exhaustion has certainly found a way into my everyday life.  (As in I thought I posted this last Friday and JUST realized I did not!)  I could seriously do nap time everyday, but there is no time for that!  Maybe I'll give in to that in a couple more weeks...I've been told I should get my sleep now since I won't EVER SLEEP AGAIN....well that's an exaggeration.  Eventually, maybe...when he is grown up, out of the house and married I may be able to sleep again.

On to other things like an almost completed nursery!  A few weeks ago you had a sneak peak at the window treatments with the non-DIY roman shades.  Initially I was going to have custom ones made, but I realized Pottery Barn sold ones very similar to what I wanted for only $148 per window.  I couldn't pass that up.  I considered only having these shades as the window treatment; I love the simplicity of it.  However, given my window condition there is a lot of light leak along the sides of the window.  I opted to add drapery panels to the side.  There is a lot of talk about not having full length drapery panels in nurseries, but I will hope for the best.  If this child is like his father then we probably won't have a problem with him swinging from the drapery...if he is like me...well that could be an issue.  50-50 shot, right?
Underside of Pottery Barn Roman Shade Showing Mechanism

Why stop at just a drapery panel?  I though I should go ahead and make it a blackout lined drapery panel...really should have done this project before my belly expanded 12".  I could have done this as a video DIY and provided everyone with a laugh as I attempted to crawl around on the floor to lay this out and iron over the hems.  This also would have been good to do before furniture went into the nursery since that was the only empty room with tons of floor space to lay out the fabric; while this is a relatively easy project it is a lot of fabric to deal with! 

First you will want to have a space (the floor or a very large table) that you can lay out the fabric.  My drapery fabric is from Premier Prints, so the 54" fabric is actually 55" wide edge to edge. The blackout fabric is from Hobby Lobby and is 53" wide which gave the perfect 1" overlap on each side.  After ironing the chevron fabric and cutting the length I needed I laid it face down on the floor.  I determined the length by ceiling height + 2" double turned bottom hem + 1" double fold top hem + 5" double fold top for drapery pole pocket.
Fabric face down plus blackout lining face up

A double fold hem is when you simply fold over the fabric and stitch.  A double turned hem is when you fold over the fabric and then fold it over once more, so you are folding then "turning."  They really should have come up with better lingo for all that!
Stitch Witch in lieu of pinning
Several months ago I did similar sized panels for our master bedroom that were not blackout lined.  It is much easier to lay out the fabric, iron over the hem and then go sew the hem when you are not worried about keeping the lining fabric in place.  Sure a "professional" would pin it in place, but that is a lot of pins poking out everywhere...and this fabric has a white background...and I am a bit of a klutz...so it seemed like a bad idea.  Light bulb moment!  I'll just use a few strips of stitch witch (or whatever brand you like) to hold it all in place for me to sew the hems. 
Iron all your hems in place; use 4-6" strip of stitch witch every 12-24"
 
Double Fold Hem Along Sides

At the top of the drapery I cut back the blackout on the portion I will fold over to create the pocket for the pole - no sense in having the extra weight.  Slight warning: given the thickness and weight of the completed panel the pocket style may not have been the best idea...certainly the easiest, but it does not hang as effortlessly as I would like.  I plan to go back and either add grommets or "button holes" to attach drapery hooks...once I don't have this belly in the way!
Top of Drapery Panel
The top is a multistep process.  First I did the same double fold method as the sides and sewed that hem in place along with the other two sides and bottom.  Then I double checked my length by measuring the distance from the floor to the mounted drapery pole in order to determine how much I needed to fold over the top for the pocket.  Once I determined that distance I ironed that fold and did a quick stitch across.  If you are a more experience seamstress then you would do a blind stitch, but I'm not that experienced!  A blind stitch is barely noticeable on the finished side of the drapery as it just slightly grabs the fabric rather than the needle going all the way through the fabric and back to the other side.
Pole Pocket
Next week I should have all the artwork up and I can reveal the COMPLETED NURSERY!