Hooray for Friday! As I'm approaching 33 weeks preggo on Sunday the overwhelming exhaustion has certainly found a way into my everyday life. (As in I thought I posted this last Friday and JUST realized I did not!) I could seriously do nap time everyday, but there is no time for that! Maybe I'll give in to that in a couple more weeks...I've been told I should get my sleep now since I won't EVER SLEEP AGAIN....well that's an exaggeration. Eventually, maybe...when he is grown up, out of the house and married I may be able to sleep again.


On to other things like an almost completed nursery! A few weeks ago you had a sneak peak at the window treatments with the non-DIY roman shades. Initially I was going to have custom ones made, but I realized Pottery Barn sold ones very similar to what I wanted for only $148 per window. I couldn't pass that up. I considered only having these shades as the window treatment; I love the simplicity of it. However, given my window condition there is a lot of light leak along the sides of the window. I opted to add drapery panels to the side. There is a lot of talk about not having full length drapery panels in nurseries, but I will hope for the best. If this child is like his father then we probably won't have a problem with him swinging from the drapery...if he is like me...well that could be an issue. 50-50 shot, right?
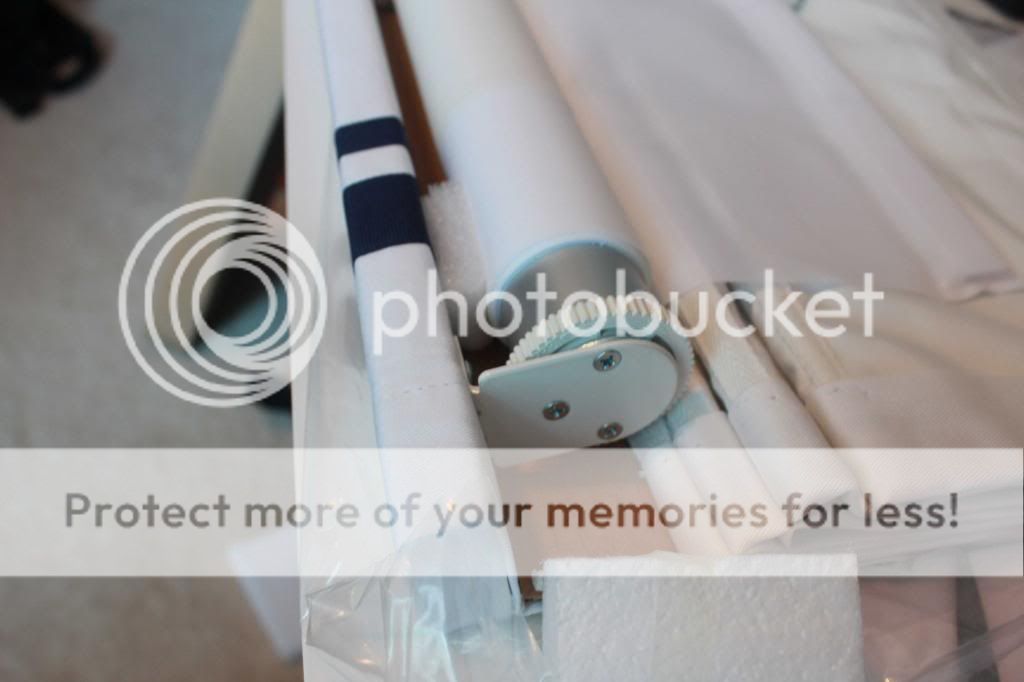 |
| Underside of Pottery Barn Roman Shade Showing Mechanism |
Why stop at just a drapery panel? I though I should go ahead and make it a blackout lined drapery panel...really should have done this project before my belly expanded 12". I could have done this as a video DIY and provided everyone with a laugh as I attempted to crawl around on the floor to lay this out and iron over the hems. This also would have been good to do before furniture went into the nursery since that was the only empty room with tons of floor space to lay out the fabric; while this is a relatively easy project it is a lot of fabric to deal with!
First you will want to have a space (the floor or a very large table) that you can lay out the fabric. My drapery fabric is from Premier Prints, so the 54" fabric is actually 55" wide edge to edge. The blackout fabric is from Hobby Lobby and is 53" wide which gave the perfect 1" overlap on each side. After ironing the chevron fabric and cutting the length I needed I laid it face down on the floor. I determined the length by ceiling height + 2" double turned bottom hem + 1" double fold top hem + 5" double fold top for drapery pole pocket.
 |
| Fabric face down plus blackout lining face up |
A double fold hem is when you simply fold over the fabric and stitch. A double turned hem is when you fold over the fabric and then fold it over once more, so you are folding then "turning." They really should have come up with better lingo for all that!
 |
| Stitch Witch in lieu of pinning |
Several months ago I did similar sized panels for our master bedroom that were not blackout lined. It is much easier to lay out the fabric, iron over the hem and then go sew the hem when you are not worried about keeping the lining fabric in place. Sure a "professional" would pin it in place, but that is a lot of pins poking out everywhere...and this fabric has a white background...and I am a bit of a klutz...so it seemed like a bad idea. Light bulb moment! I'll just use a few strips of stitch witch (or whatever brand you like) to hold it all in place for me to sew the hems.
 |
| Iron all your hems in place; use 4-6" strip of stitch witch every 12-24" |
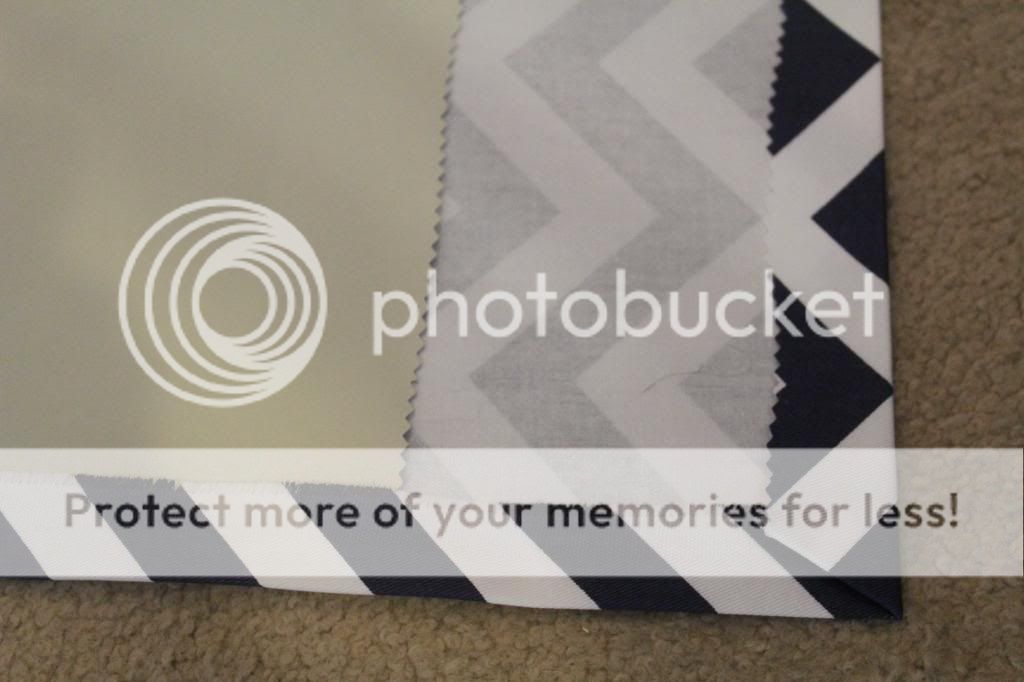
 |
| Double Fold Hem Along Sides |
At the top of the drapery I cut back the blackout on the portion I will fold over to create the pocket for the pole - no sense in having the extra weight. Slight warning: given the thickness and weight of the completed panel the pocket style may not have been the best idea...certainly the easiest, but it does not hang as effortlessly as I would like. I plan to go back and either add grommets or "button holes" to attach drapery hooks...once I don't have this belly in the way!
 |
| Top of Drapery Panel |
The top is a multistep process. First I did the same double fold method as the sides and sewed that hem in place along with the other two sides and bottom. Then I double checked my length by measuring the distance from the floor to the mounted drapery pole in order to determine how much I needed to fold over the top for the pocket. Once I determined that distance I ironed that fold and did a quick stitch across. If you are a more experience seamstress then you would do a blind stitch, but I'm not that experienced! A blind stitch is barely noticeable on the finished side of the drapery as it just slightly grabs the fabric rather than the needle going all the way through the fabric and back to the other side.
 |
| Pole Pocket |
Next week I should have all the artwork up and I can reveal the COMPLETED NURSERY!


I love the chevron pattern! How much did you spend on the materials for the blackout curtains? My husband loves blackout curtains & I plan to replace our current ones with floor-to-ceiling ones some day. The ones we currently have are just long enough to cover the window & they're already a little pricey. Not to mention, the ones I find in my town aren't that stylish.
ReplyDeleteHi Angelina. The chevron fabric was on sale at Fabric.com for just under $7/yd. The blackout lining is from Hobby Lobby and was under $6/yd since it is part of there always 30% fabric collection. Good luck with creating your own!
ReplyDelete**opps** "their", not "there"
DeleteBeautiful curtains! Great job, mama! I'm sure baby will love them! I popped over from DIY Showoff-- thanks for sharing!
ReplyDelete~Abby =)
Thanks Abby!
ReplyDeleteThey turned out fantastic! Thanks for sharing your tutorial. :) I've pinned this.
ReplyDeleteOooo they look great - love how you have the zig zag on the drapes, then the stripes on the roman blinds - it works surprisingly well!
ReplyDelete