 |
| Pinned from a Broken Link via White|Gold Design |
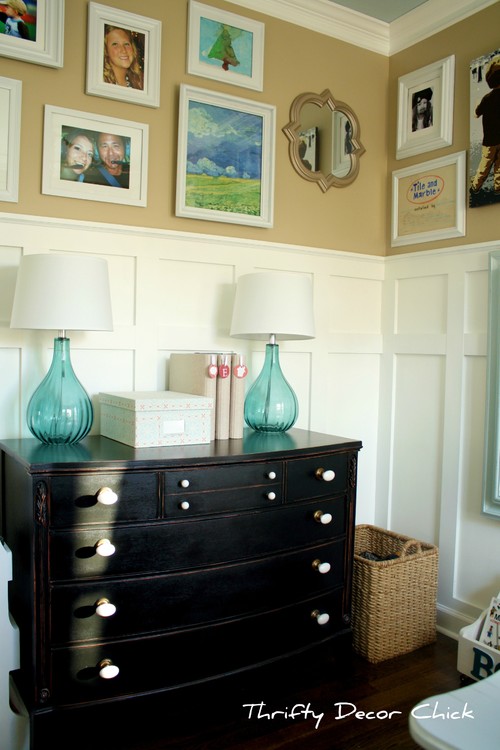
Ultimately I choose to stay timeless, and go with board and batten. Nothing but the best for L-Dubs (the tots nickname). Well, semi-board and batten. True board and batten uses wide "boards" pieced together along the wall with the "battens" being the thin pieces covering the joints of the boards. The majority of tutorials out in blog land (along with this one) uses only the batten part of the equation. The added expense of the boards is not necessary in my situation; however it could be a good solution if you are dealing with damaged walls.
Our home was built in 1991, so our first step was to remove the existing builder grade base moulding which has the curved top edge. A straight top edge is needed for the vertical elements to extend from. The new base moulding would be just a tiny bit taller than our existing which makes the removal a little easier. You will need a utility knife, painter's multi-tool like a 5-in-one tool, screw driver, pliers and hammer. You may also want a pry bar and a small spare piece of wood (about 6-12" long x 4-6" high). We were able to remove the base without those last two items, but it will depend on how yours was installed.
First, use an blade and cut along the top edge of the existing base and then go back with either a caulk remover tool or a 5-in-one painters tool to remove all the existing caulk. This is an incredibly important step as you do not want to pull the base off with the gypsum board paper still attached - it could rip all the way up your wall, and that is no fun to repair! As I removed the caulk with the 5-in-one tool, I pushed the tool between the base and the wall to continue the separation by loosening the nails from the wall. At times I wedged the screwdriver between the wall and the base board a foot or so ahead of me to help as I pulled the base off.
 |
| Loosened Base Moulding |
Oh right, most of this was done with my belly looking like this -
All the squatting and bending would have been much easier if we tackled this project around the 20 week mark instead of 23ish. Holy growth spurt. Oh well, mentally I simply wasn't ready to work on the nursery at that point, but that's a whole other story.
Next week I'll walk through the installation of the battens! It is a mostly easy process with the exception of one wall of ours that is a little wonky. Wonky = curves slightly outwards which makes keeping those boards flush a SUPER FUN PROCESS. Again, may have had a few hormonally induced moments of rage...
 |
| A week after this photo we found out his body is in the 61% and head is in the 98%... Let's hope he evens out towards the 61%. |


No comments:
Post a Comment