


Our 1991 house is covered in almond outlets and pole switches. We replaced just the switch plate covers when we moved in because the almond is so dingy looking. For the nursery I wanted an illuminated switch, and also placed one of these in our hallway at the top of the stairs. It's nice not to have to feel around in the dark for that switch. {Especially the one at the top of our stairs - I've come close to stepping a bit too far before!}
 |
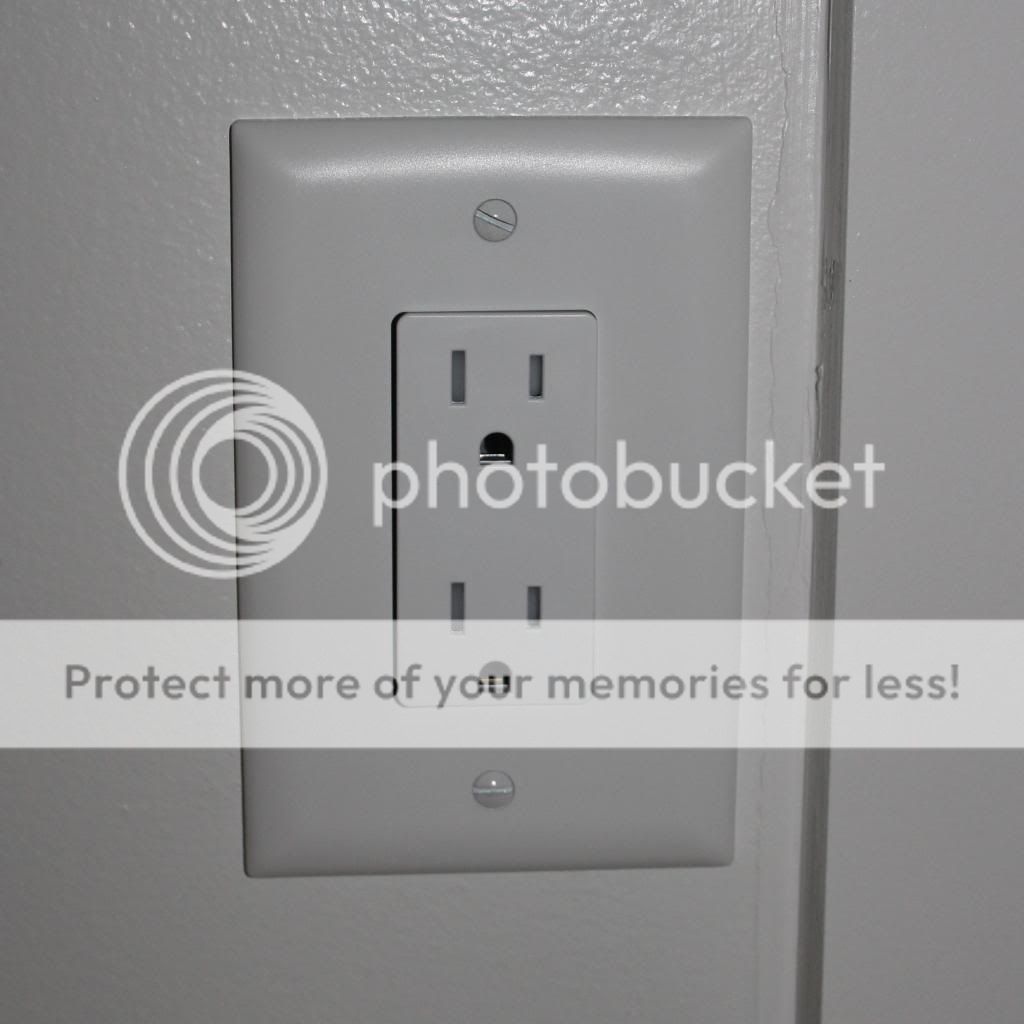
| Tamper Resistant Outlet |
The other item we updated from 1990's almond are the duplex outlets. We used these handy duplex wallplates in other areas of the house when we first moved. Eventually we will replace all our duplexes that are in "kid areas," but for now we focused on the nursery as the practice round. Rather than using those little plastic inserts to protect L-Dubs from electricuting himself, we installed tamper-resistant outlets. The outlets come in a 10-pack at Home Depot for $19.99 plus $5.90 for the 10 pack of wall plates. I did the slightly nicer kind because I like the clean look of the flush face.
First, turn off the power. You will need to do this at your breaker box. Just turning a light switch to off does not mean the power is off; electrical current is still running through the wires. As additional precaution, use a voltage tester to ensure electricity is not running through the wires before beginning work.
Second, remove the face plate and screws from the oulet you are replacing. When you pull it from the wall it will look like this: |
| Old Outlet Hanging from Wall - Oh the Dust |
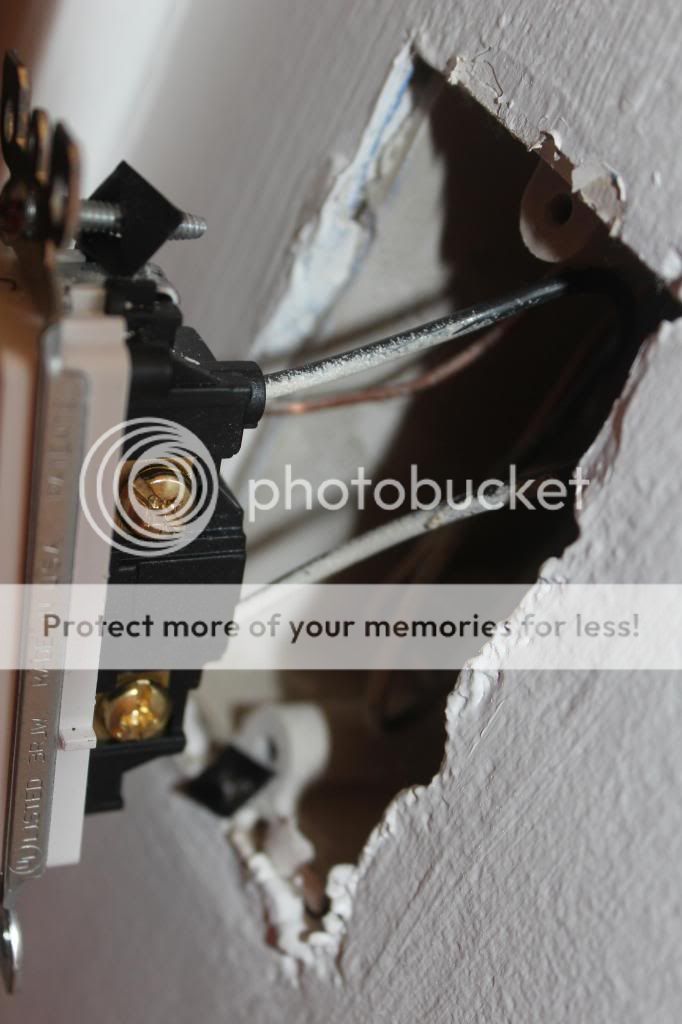 |
| Wires at Light Switch (both are black - they just had paint on them from builder) |
 |
| Grounding Wire on new Light Switch |
A typical duplex will have 5 total wires and a typical light switch will have 3. The important thing to note is the location of the white and black wires in relation to the finish of the screws for the duplex. This is intentional. "Hot" wires {which are usually black, sometimes colored} attach to the brass screws {black to brass). The "neutral" wires {white} attach to the silver screws. Our new outlets said on the back plate which went to which side, but it is the most critical thing to know here. Doing this incorrectly is what will send sparks flying. In addition to the two white and two black wires is the copper grounding wire which attaches to the green screw {ground to green}. Also, some outlets may have slightly different wiring if the top or bottom outlet is switch operated. {If you have a light switch that can operate a lamp plugged into that outlet.} A typical light switch will just have the two black wires and the copper grounding wire. There will be more wires if you have a light switch that operates more than one light, and that will require a different switch than what I have shown.
Third, once you have made note of how the existing outlet is attached then you can loosen the screws and pull out the wires. Many outlets have a little hole to push a pin through to "release" the wire, but it takes a bit of a tug as well. At least to me it was more of a tug than I expected.
Fourth, attach the wires to your new outlet. Remember: white to silver, black to brass, copper/ground to green. Do a gentle tug on the wires to ensure they are securely attached, and then push it all back in your wall, re-screw, and add your cover plate. My new light switch conveniently labled "top" and "botton" on the unit. Now you are done, so turn back on your power!
 |
| Newly Attached Outlet - See Green and Silver Screws |
 |
| Installed Oulet and Cover |
No comments:
Post a Comment