
There has been a project I have been wanting to try since purchasing our house a little over a year ago. Fearful is an understatement of why I have yet to tackle this. First, I thought I'd give it a try in the powder room since it is such a small size. But that never happened...along with taking the flamestitch wallcovering down in that room, but that is a project for another day {or year}.
A couple weeks ago West Elm began their 15% seating sale, so I pulled the trigger on the glider for the nursery. With less than a two week lead time the nursery renovation had to begin immediately unless we planned on having the glider hang out in the hallway when it arrived. Time to go to Home Depot.


We already had some of this KilzPrimer, Sealer and Stain Blocker
You see where I'm headed with this? This horrid 1990's ceiling was about to meet his end.


Prep 1: Lay down plastic. And if you do not plan to give your walls a make-over as well than you should cover your walls in plastic, too. This is a messy and dusty process.Prep 2: Fill a spray bottle with water. The room I did is about 10x11, so a basic spray bottle worked well. The tool I purchased was a life saver. I know the reviews are mediocre, but I say 5 stars. It hooked up to the end of the extension rod we use with our paint rollers. I recommend using a midsized thick plastic shopping bag to attached to the tool - like one from Old Navy or another clothing store. Not a grocery bag and not a big trash bag. It doesn't take much before the bag becomes heavy. Rather than taking off the attached bag and hooking on a new one we just dumped the debris into a large trash bag, and we continued with the process.
Step 1: You are ready to officially start. Put on some goggles and a mask and begin working in small sections (about 4 foot x 4 foot). Spray the ceiling with water, wait about 60-90 seconds, and the begin scraping. As the tool instructions tell you, apply even pressure. Surprisingly, it doesn't take much pressure at all for the nasty popcorn to just peel away and fall nearly perfectly into the attached bag. A little debris misses, but I'd guess 95% goes in the attached bag. Do not dig into your ceiling - it's more for you to patch and repair later. You can always go back and squirt more water and do another swipe, but once you pull away a chunk of drywall paper or actual drywall you can't go back! As your attached bag becomes heavy empty it into a large trash bag - do this often and save your arms the pain.
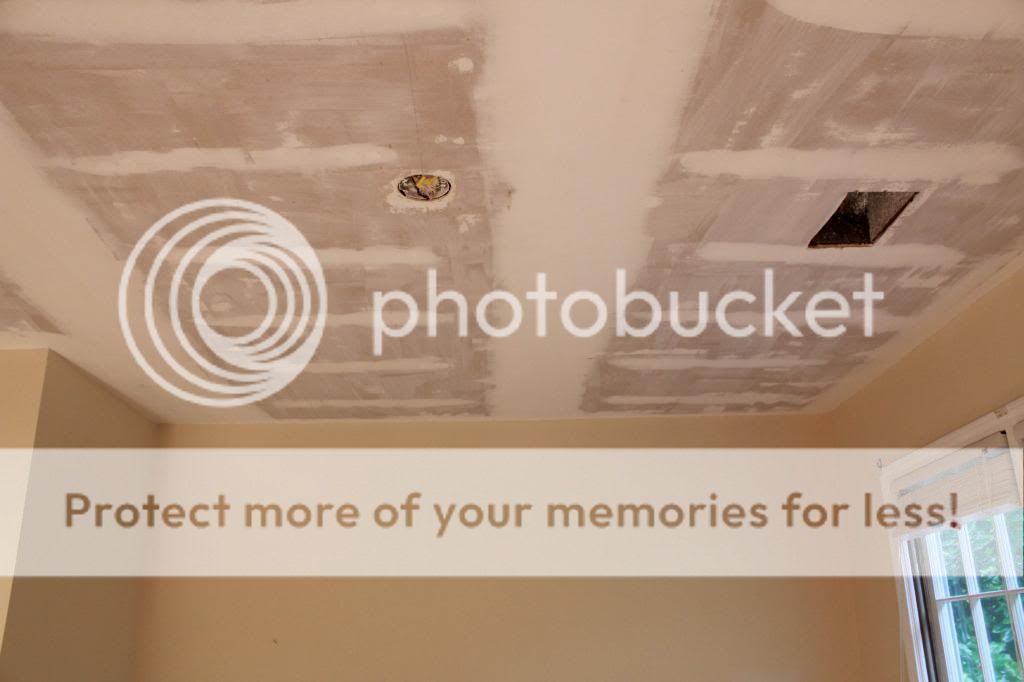 |
| Texture all Gone! |
Step 2: Once you have successfully removed the textured ceiling you are ready to patch, repair and sand as needed. To me this was the messiest step. You will probably have a few areas that have a thin layer of texture remaining. This is where some medium grain sand paper will come in handy. Do that first and then use spackle to fill any areas where you may have removed chunks of drywall. I had a few areas at the beginning while I was becoming used to the necessary pressure. And then some areas at the end when my arms hurt and I was becoming lazy! Once the spackle dries go back and sand using a fine grit sand paper. You may also need a small hand tool to scrape any remaining areas of texture particularly around the perimeter of the room or around the rough-ins for electrical or HVAC.
Step 3: I have read so many tutorials on this that skip this step! If you didn't notice during step 2 this is a dusty process. That dust is everywhere. Any surface that you have not covered in plastic needs a good wipe down; especially your ceiling. I recommend a sponge mop and two buckets of water - a "clean water" bucket and a "rinse bucket" {like the way you should wash a car}. I emptied the "rinse bucket" 8 times for this tiny room because that is how much dust and dirt came off the ceiling and uncovered walls. {Certainly you don't want to paint all that into the room permanently!?}Step 4: Once the ceiling is dry you can begin to prime and paint. I use Kilz for priming because it's what we use in contract jobs. Not only does it prime but it seals the surface and most importantly is a stain blocker. There was a small area of former water damage on this ceiling. The leak had been fixed long before we moved in the house, but a 2" wide by 5 foot long stain was visible when we removed the popcorn. The stain blocker element of the Kilz will ensure that will not reappear later. Of course if a new leak occurred than a new stain would appear. Do a good even coat of primer, wait the recommended two hours, and then start your first coat of ceiling paint. We needed a second coat of ceiling paint and a couple touch up areas.
 |
| Primed & Painted |
And that is all there is to it. Seems like a lot, but really the priming and painting took the most time. The prep and scraping took less than an hour and a half, and that was the part I was most fearful about. In the end, I look up that glorious white ceiling and think, I am so doing this in our master, in the hallway and in the great room! We've tenatively determine we should do a new space every six months...seems realistic. Out of all my projects thus far, this is the most rewarding.
Next week? Onto the walls - it's so much more than a coat of paint, and I LOVE it!
Next week? Onto the walls - it's so much more than a coat of paint, and I LOVE it!

Linking Up:


My whole house is covered in popcorn ceilings. I am so over it but was hesitant because I didn't really know what to do. Thank you so much for the detailed tutorial.
ReplyDeleteSincerely, Liz